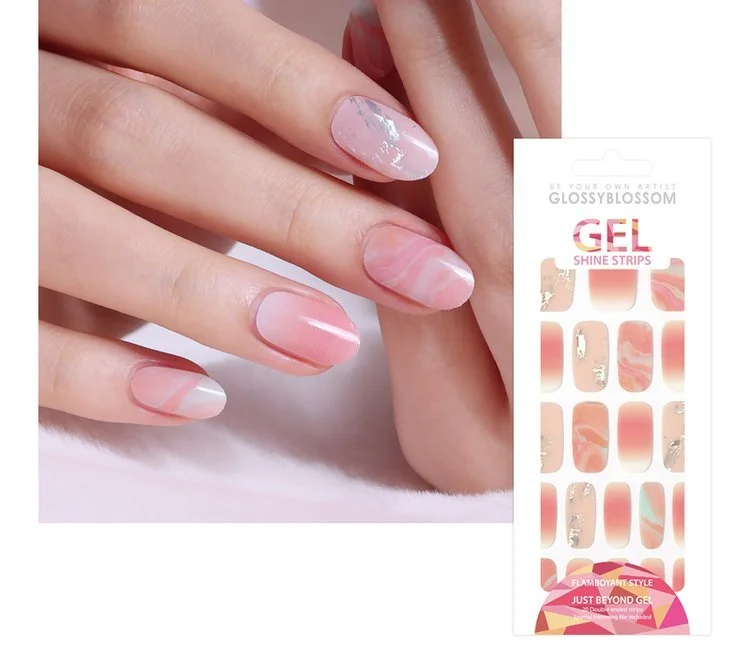
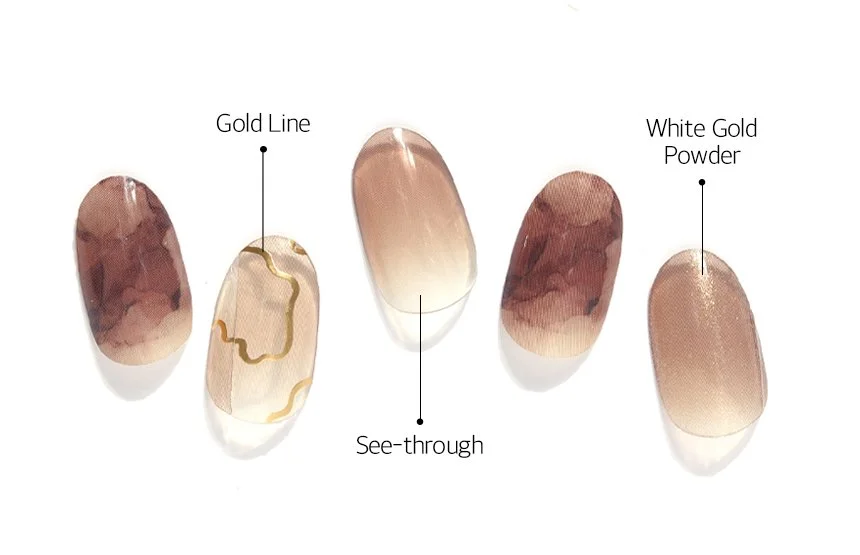
Image 1 of 7
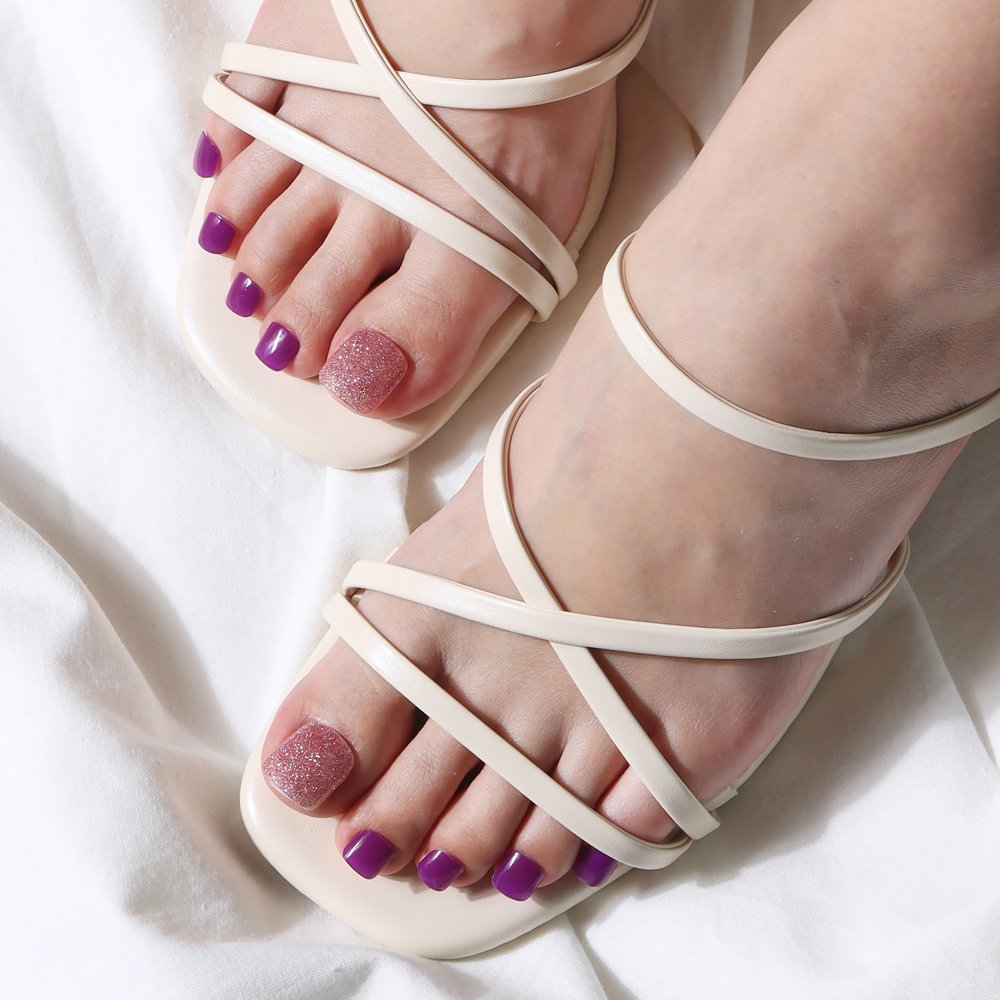
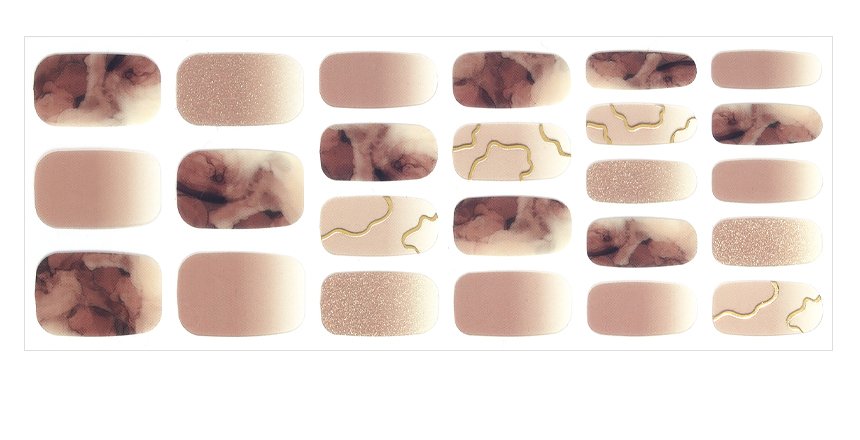
 Image 2 of 7
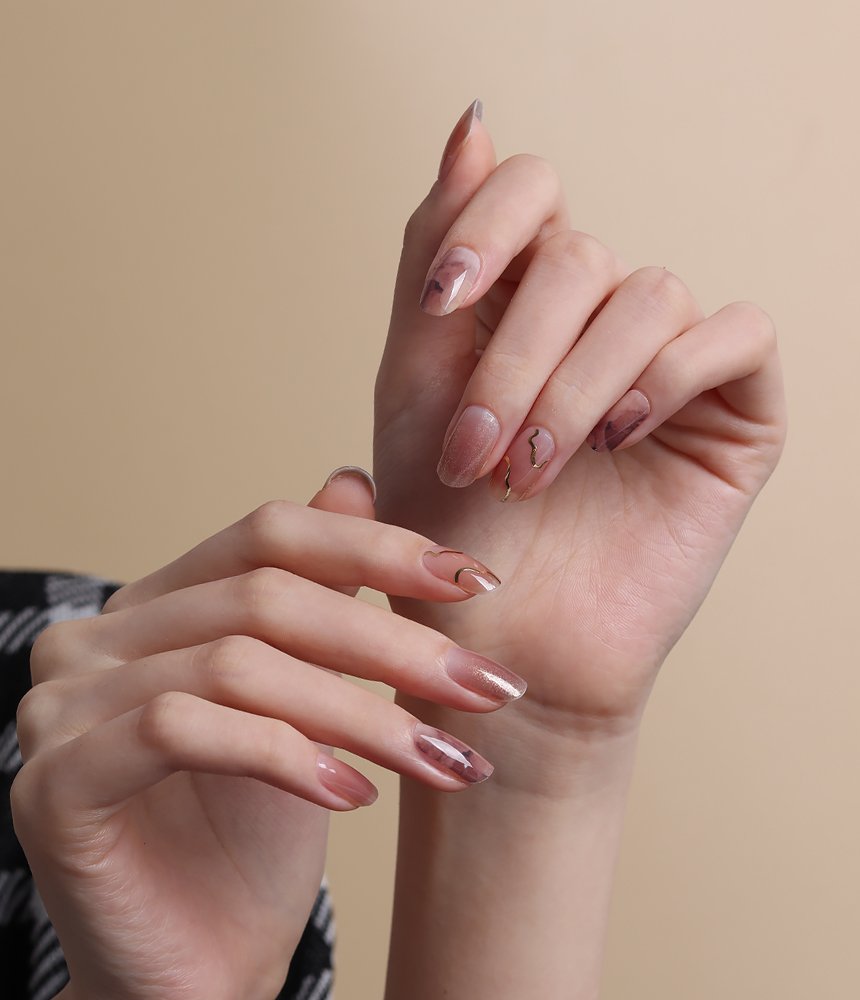
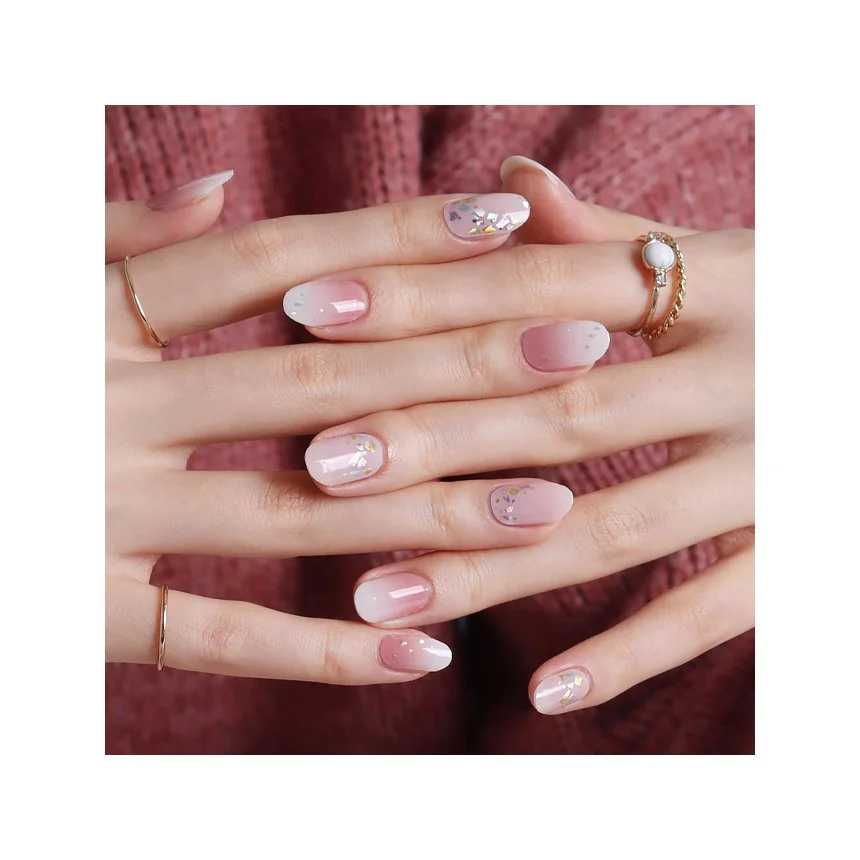 Image 3 of 7
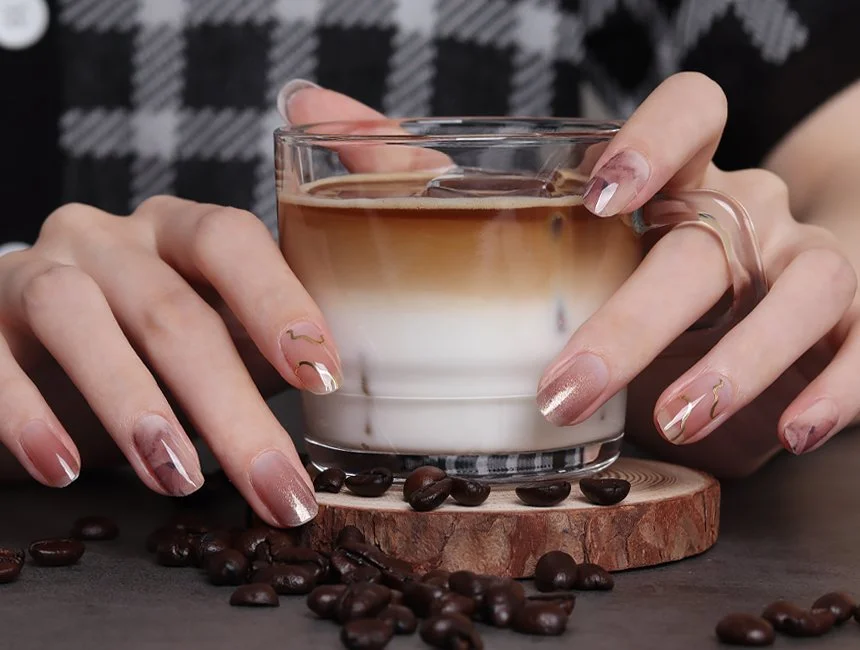
 Image 4 of 7
 Image 5 of 7
 Image 6 of 7
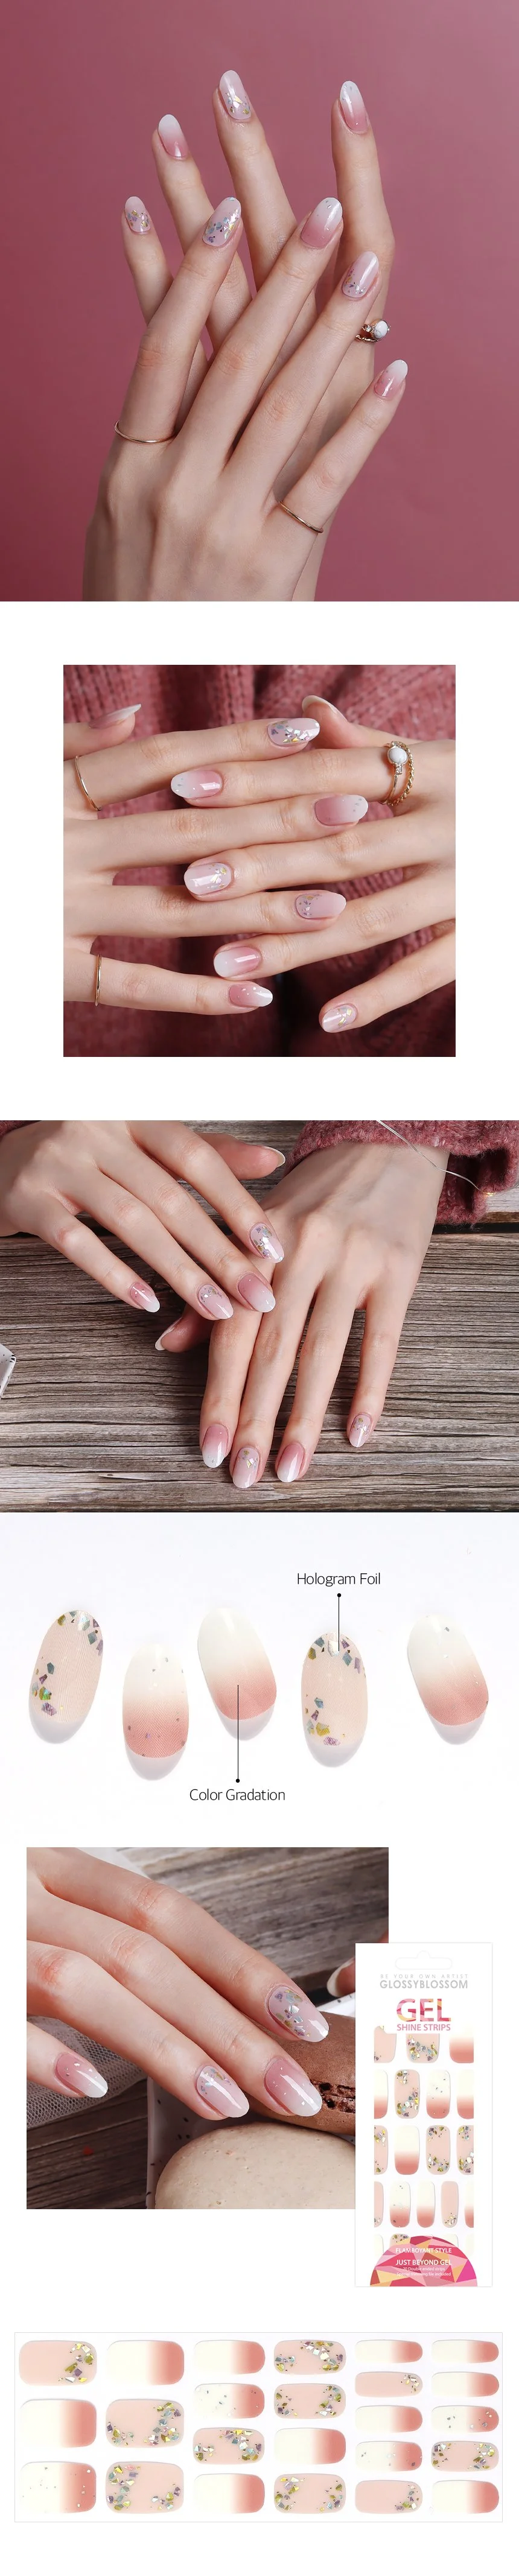 Image 7 of 7
CAD $8, EUR €5.5, GBP £4.7, CHf 5.3, AUD $8.9, NZD $9.4, JP ¥817, HK $46.2, Rp 87847.8, RM 26.8, PHP ₱328.7, SGD $8, NT$181, VND ₫138307.8, MMK 12395.8, THB ฿203.4, INR ₹488.9, RUB руб 472.6, BRL R$29.2, ILS ₪21.9, UZS 67820.5, KZT ₸2620.7, SAR SR22.1, KWD 1.8, AED 21.7, OMR 2.3, JOD 4.2, BHD 2.2, Orders are processed in US Dollar. Above prices are approximate based on foreign exchange rates on June 5th, 2023
-
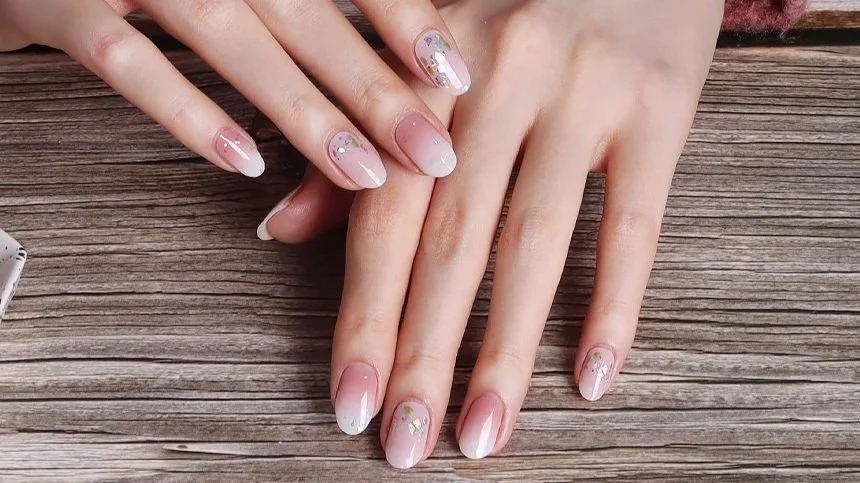
The Nail Gel Strips is an easy, fast, and harmless way of getting beautiful glamorous looking nails. Design to fit your nails perfect these sticker-like strips will surely upgrade basic nail to Instagram-worthy nails!
-
1. Nail Prepping
The first step to success is preparation. Before choosing and applying your gel nails, it’s best to prep your cuticle.
We recommend you get a clean, polish-free manicure. After getting a mani, wash your hands thoroughly. Oil and debris can reduce the adhesion of your adhesive gel.2. Picking the Right Size
Now that your nails are prepped, it’s time to choose a Nail Gel Strip. Make sure that the gel fits your nails.
If the gel is an in-between size, you can opt to trim a bigger strip to the perfect size. For accurate measure, match the strip to your nail bed.3. Time to Apply
Once you’ve found the right size, it’s time to apply your gels.
Peel off the clear film and rest it on the nail bed. Place the gel as close to the cuticle as possible. Your gel package may come with additional instructions or steps, so always read the guide before starting out.
Smooth the gel after application, from bed to tip. Don’t forget to press the edges up to your zero points. The zero points is where the nail is at its thinnest. By pressing the gel down, you are securing your gels in place for longevity.
4. Finishing Touches
Filing and trimming away the extra gel will give your gel an even more polished look.
To file, place the grit file perpendicular to the gel. Keep a downward motion as you do so. Start rough, and then finish with a finer file.5. Curing
Cure your nails under the lamp for 30 Secs until completely secured.
Removing Your Nail Gel Strips
For minimal nail damage, keep a nail polish remover close by. Trust us, it makes the whole process so much easier.
Dip your removing stick with the remover before anything else. Using the stick, push away the gel starting from the edge all the way to the cuticle.
If you notice that the removing stick is starting to dry, just soak it again with polish remover. Repeat until you’re satisfied.We told you, it’s THAT easy!